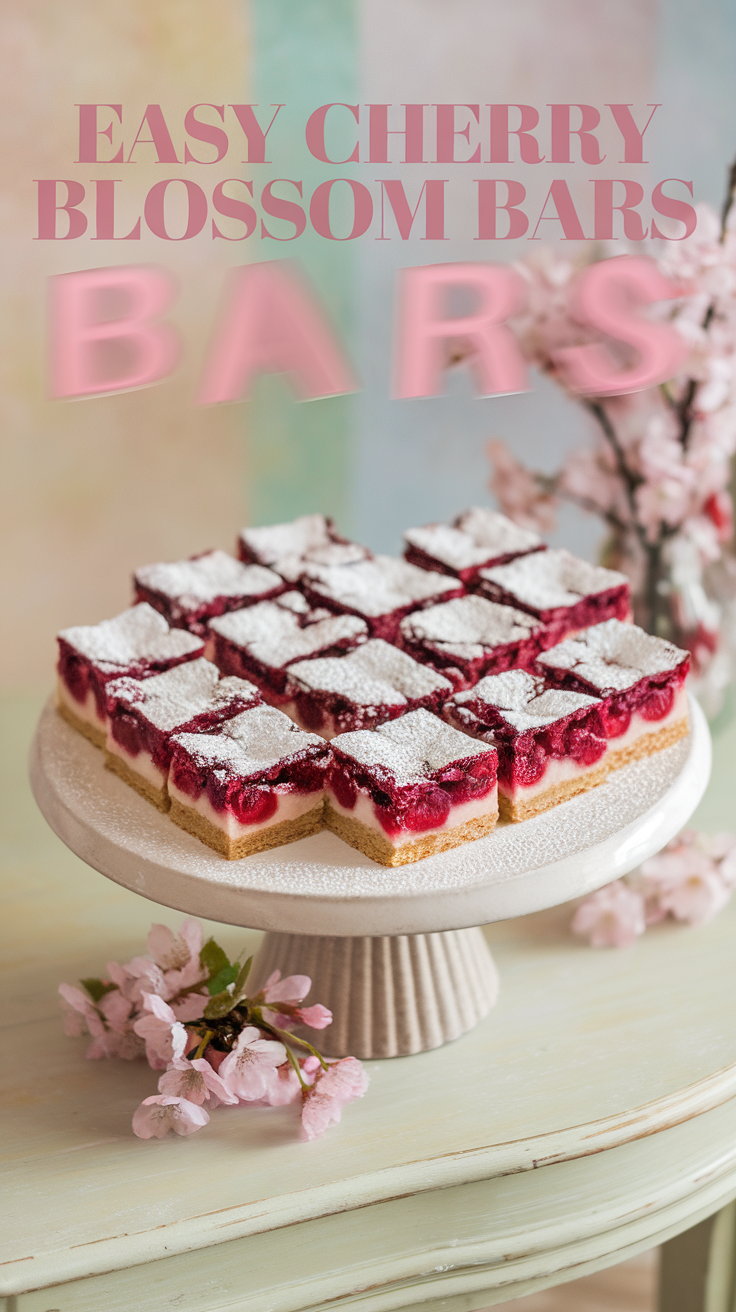
Easy Cherry Blossom Bars are a delightful sweet treat that captures the essence of cherry blossoms in every bite! These dessert bars combine a buttery crust with a luscious cherry filling, topped with a light sprinkle of powdered sugar for a lovely finish. Perfect for spring celebrations or any time you crave something fruity, they are both elegant and easy to make, making them a must-try for your next gathering!
Table of Contents
- Easy Cherry Blossom Bars Recipe
- Ingredients for Easy Cherry Blossom Bars
- How to Make Easy Cherry Blossom Bars
- Tips for Making Easy Cherry Blossom Bars
- Make-Ahead Instructions
- Storing Leftovers
- Freezing Easy Cherry Blossom Bars
- Reheating Easy Cherry Blossom Bars
- Serving Suggestions
- FAQs
- Try these Easy Cherry Blossom Bars related recipes next!
- Cherry Almond Bars
- Cherry Almond Crumble Bars
- Cherry Cream Cheese Bars
- Cherry Oatmeal Bars
Easy Cherry Blossom Bars Recipe
- Easy to Prepare: With simple ingredients and minimal prep time, these bars can be whipped up in less than an hour, making them ideal for busy bakers!
- Delightfully Fruity: The cherry filling brightens every bite, providing a perfect balance of sweetness and tartness that appeals to all taste buds.
- Perfect for Any Occasion: Whether for a spring celebration, picnic, or a simple dessert at home, these bars are versatile and crowd-pleasing!
Ingredients for Easy Cherry Blossom Bars
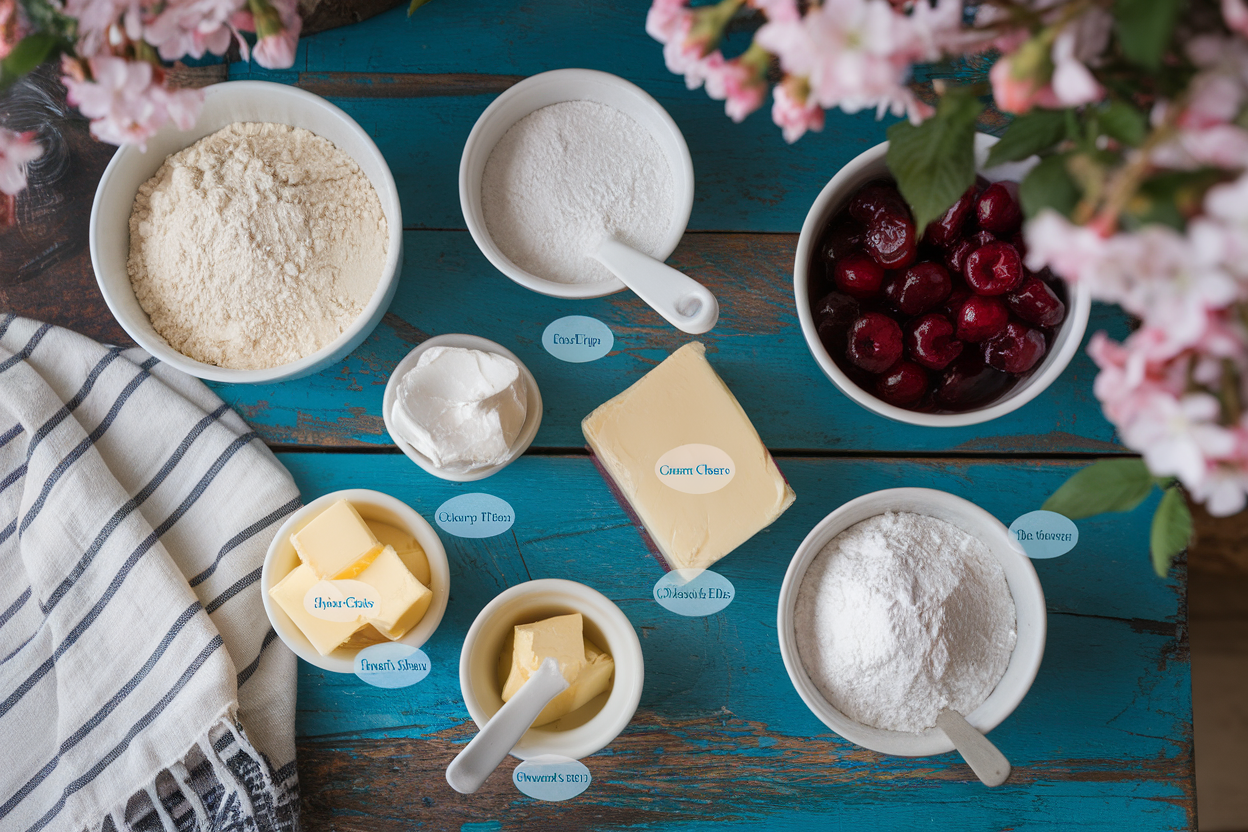
- All-Purpose Flour: Forms the base of the crust, providing a sturdy and delicious foundation for the bars.
- Granulated Sugar: Sweetens the crust and filling, balancing the tartness of the cherries.
- Unsalted Butter: Adds richness and moisture to the crust. Be sure to use room temperature butter for easy mixing.
- Cream Cheese: Creates a smooth layer in the filling, enhancing the texture and taste of the cherry flavor.
- Canned Cherry Pie Filling: The star of the recipe, providing that fruity cherry flavor and vibrant color. Use a high-quality brand for the best results.
- Powdered Sugar: A light dusting on top for presentation and added sweetness.
How to Make Easy Cherry Blossom Bars
- Preheat your oven to 350°F (175°C). Grease and line a 9×9-inch baking pan with parchment paper.
- In a large mixing bowl, cream together the softened butter and granulated sugar until light and fluffy.
- Mix in the flour until just combined. Press the mixture firmly into the bottom of the prepared baking pan to form the crust.
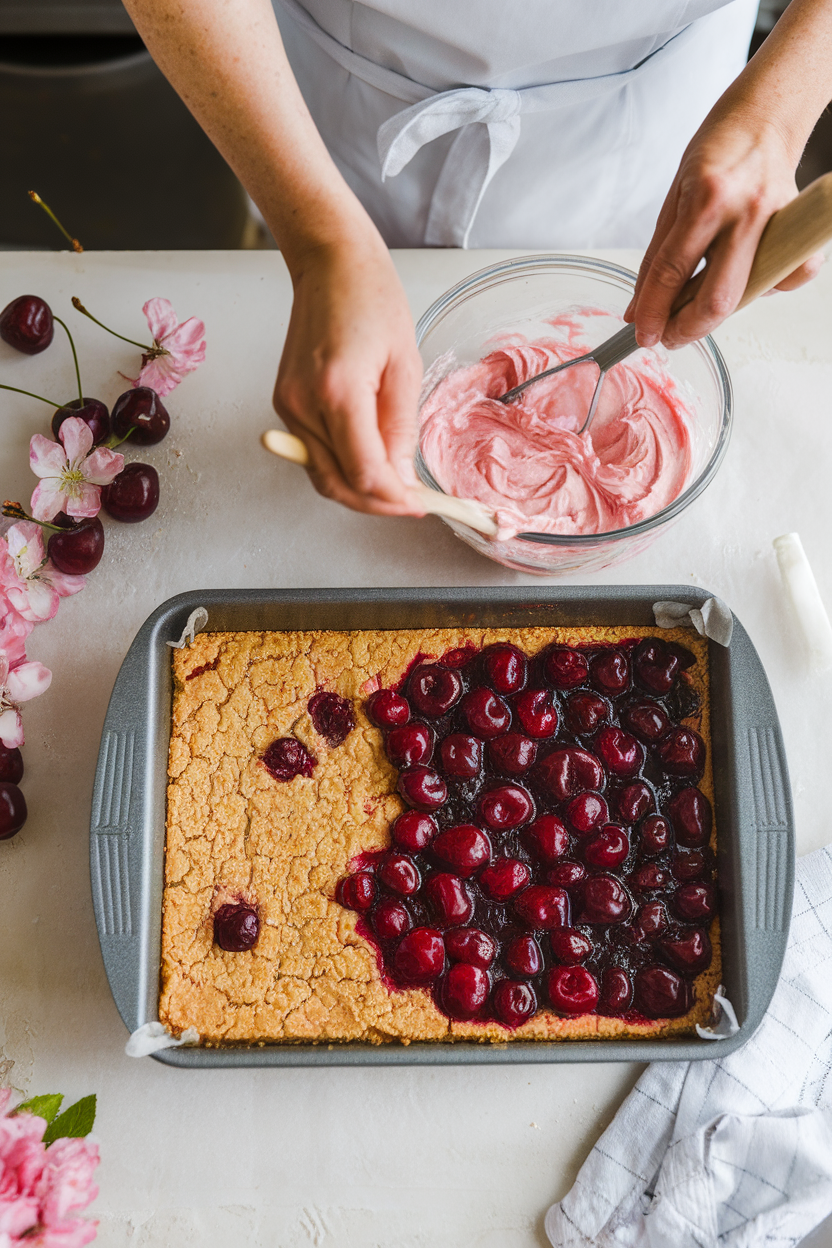
- In another bowl, blend the cream cheese and sugar until smooth. Spread the cream cheese mixture evenly over the crust.
- Top the cream cheese layer with the cherry pie filling, spreading it out evenly across the top.
- Bake in the preheated oven for 30-35 minutes, or until the edges are golden and the filling is bubbly.
- Allow to cool completely in the pan before lifting out and cutting into bars. Dust with powdered sugar before serving.
Tips for Making Easy Cherry Blossom Bars
- Use Quality Ingredients: The flavor of the bars largely depends on the quality of the cherry pie filling and butter, so opt for the best quality you can find.
- Chill the Dough: For perfectly cut bars, refrigerating the dough before baking can help solidify it, reducing the stickiness and mess.
- Experiment with Flavors: Feel free to use almond extract or vanilla extract along with the cream cheese for an added layer of flavor.
Make-Ahead Instructions
- You can prepare the crust and cream cheese filling a day in advance, storing them separately in the refrigerator until you’re ready to assemble.
- Bake the bars ahead of time and store them in the refrigerator for up to 3 days.
Storing Leftovers
Store leftover cherry blossom bars in an airtight container in the refrigerator for up to 4-5 days. Make sure to separate layers with parchment paper to prevent sticking.
Freezing Easy Cherry Blossom Bars
- Freeze cut bars individually wrapped in plastic wrap or aluminum foil for up to 2 months.
- To thaw, simply place them in the refrigerator overnight before enjoying.
Reheating Easy Cherry Blossom Bars
- Reheat in the microwave for about 15-20 seconds to warm up and enjoy the gooey texture.
- Alternatively, place the bars in a preheated oven at 300°F (150°C) for about 10 minutes.
Serving Suggestions
FAQs
Can I use fresh cherries instead of canned?
Absolutely! You can use fresh cherries. Just make sure to pit and slice them, then mix with a bit of sugar to enhance their sweetness.
How do I know when the bars are done baking?
The cherry filling will bubble around the edges, and the crust will be slightly golden when they’re ready.
Can I double this recipe for a larger crowd?
Yes, simply double the ingredients and use a larger baking dish for the same baking time.
How do I make these bars gluten-free?
Substitute all-purpose flour with a gluten-free flour blend. The texture will still be delicious!
Can I add nuts to the crust?
Yes, feel free to add chopped almonds or walnuts to the crust for added crunch and flavor!


